Raspberry-Pi-YouTube-Kiosk in 5 Minuten mit Thymis
Erfahren Sie, wie Sie einen Raspberry Pi mit Thymis in wenigen Minuten in einen digital verwalteten Vollbild-YouTube-Kiosk verwandeln. Bereitstellen, aktualisieren und sogar aus der Ferne ansehen – alles über die Luftschnittstelle und ganz ohne manuelle Einrichtung.

Einleitung
Das Einrichten von Raspberry Pis kann überraschend viel sich wiederholende Arbeit bedeuten. Dazu gehört, ein Basis-Image herunterzuladen, es auf eine SD-Karte zu flashen, das Gerät zu booten, Tastatur und Monitor anzuschließen, WLAN zu konfigurieren, Software zu installieren und schließlich die eigene Anwendung auszuführen.
Wenn Sie eine grafische Benutzeroberfläche bevorzugen, können Sie eine Verwaltungssoftware wie Thymis nutzen, um den Vorgang zu vereinfachen. Sie können die gehostete Thymis Cloud verwenden oder sie selbst hosten.
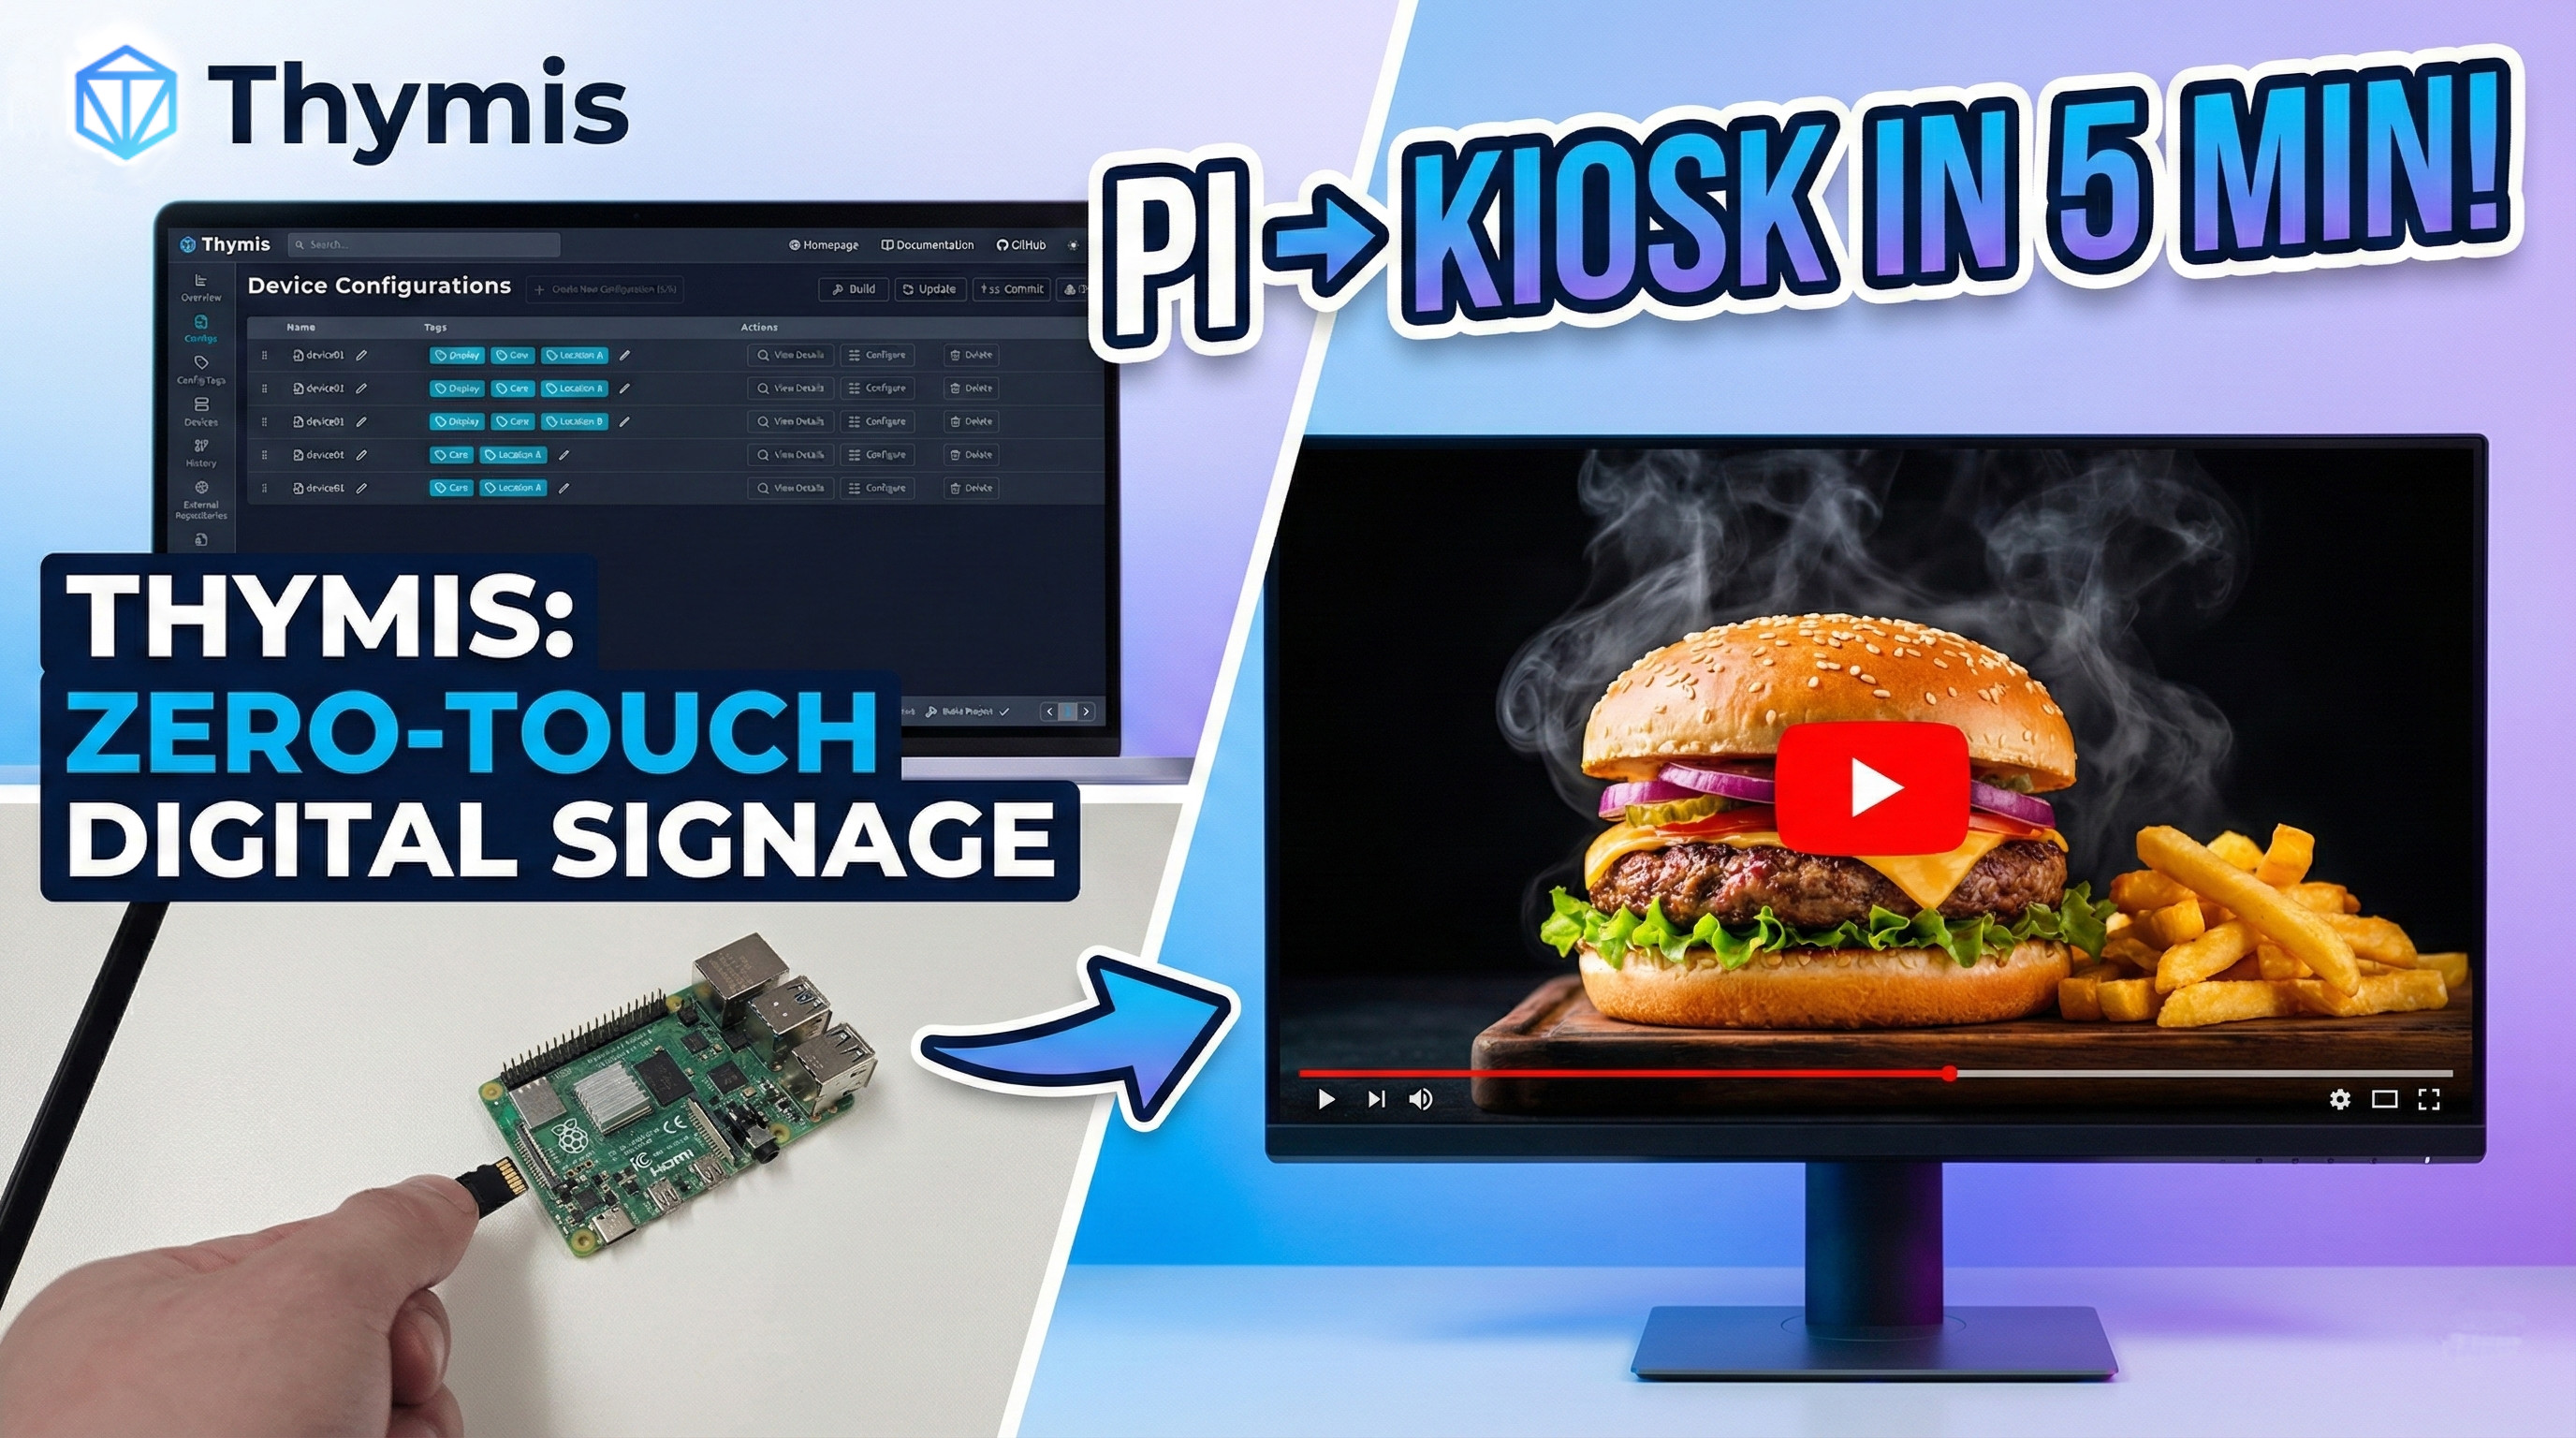
Sobald der Controller läuft, können Sie das gewünschte Verhalten der gesamten Raspberry-Pi-Konfiguration festlegen und ein einziges Image flashen. Der Pi bootet dann mit den vorgegebenen Einstellungen, verbindet sich zurück mit dem Thymis-Controller und beginnt, ein YouTube-Video im Vollbild abzuspielen. All das gelingt, ohne Tastatur oder Monitor anzufassen.
Was Sie benötigen
- Raspberry Pi 3, 4 oder 5
- Stromkabel
- Display mit HDMI
- HDMI-Kabel
- MicroSD-Karte mit mindestens 8 GB Speicher
- SD-Kartenleser
- Einen Computer mit Internetzugang
- Zugang zu einer Thymis-Controller-Instanz
Schritt 1: Eine Gerätekonfiguration erstellen
In Ihrer Thymis-Oberfläche:
- Gehen Sie zu Configs > Create Device Configuration
- Benennen Sie sie mit ‘Pi YouTube Demo’
- Wählen Sie Ihr Raspberry-Pi-Modell aus
- Geben Sie Ihre WLAN-Zugangsdaten im Modul „Core Device Configuration“ ein
Schritt 2: Das Kiosk-Modul hinzufügen
Fügen Sie das Kiosk-Modul hinzu und fügen Sie eine YouTube-Embed-URL mit aktivierter Autoplay-Funktion ein. Zum Beispiel:
https://www.youtube.com/embed/xPPLbEFbCAo?autoplay=1&mute=1&fs=1&loop=1&playlist=xPPLbEFbCAoDadurch startet der Pi beim Booten Chromium im Vollbild und spielt das Video ab.
Um den Fernzugriff auf den Bildschirm zu ermöglichen, aktivieren Sie den VNC-Server im Kiosk-Modul. Dadurch wird in Thymis ein VNC-Tab hinzugefügt, über den Sie den Bildschirm des Pi aus der Ferne ansehen und steuern können.
Schritt 3: Das Image bauen und flashen
- Klicken Sie auf ‘Download Device Image’. Der erste Build dauert etwa 4 Minuten. Nachfolgende Builds sind schneller, da Build-Schritte zwischengespeichert werden.
- Flashen Sie die
.img-Datei mit USBImager oder dem Befehlddauf Ihre SD-Karte.
Sie können dasselbe Image auf mehrere SD-Karten flashen, und alle verwenden dieselbe Konfiguration.
Schritt 4: Das Gerät booten
Stecken Sie die SD-Karte ein und schließen Sie das Display über das HDMI-Kabel an. Nun können Sie den Raspberry Pi einschalten.
Nach einer kurzen Bootzeit spielt der Pi das YouTube-Video automatisch im Vollbildmodus ab. Gleichzeitig verbindet sich das Gerät zurück mit Ihrer Thymis-Controller-Instanz, sodass Sie es online sehen, aktualisieren und alle Einstellungen aus der Ferne verwalten können.
Fazit
Der Einsatz eines Geräteverwaltungs-Tools wie Thymis reduziert den Zeit- und Arbeitsaufwand für die Einrichtung neuer Geräte. Sie können eine Konfiguration vorbereiten, ein Image bauen und es anschließend auf beliebig viele SD-Karten flashen. Jede Konfigurationsänderung, die Sie vornehmen, gilt für alle Geräte, ohne dass Sie sich per SSH auf jedem einzelnen Gerät anmelden oder gar einen Monitor oder eine Tastatur anschließen müssen. Fällt eine SD-Karte aus, können Sie schnell eine neue mit exakt derselben Konfiguration flashen.
Inhaltsaktualisierungen, der Umgang mit Fernzugriff und die Verwaltung größerer Flotten werden so unkomplizierter – besonders nützlich für Kioske und Digital Signage.
Sie können Thymis kostenlos nutzen.
Verwandte Ressourcen
Bereit, Ihre IoT-Infrastruktur zu transformieren?
Beginnen Sie mit unserer kostenlosen Open-Source-Version oder kontaktieren Sie uns für Enterprise-Lösungen. Komplexes IoT-Setup vereinfacht.