Getting Started with Device Provisioning
This guide walks you through provisioning a Raspberry Pi, configuring networking, flashing the system image, and getting the device online with Thymis.
Prerequisites
Before you begin, ensure you have:
- Access to a running Thymis Controller (Cloud or Self‑Hosted).
- A supported device
- An SD card (8 GB minimum, 32 GB recommended) or device‑specific storage.
- An SD card reader connected to your workstation.
- A stable network connection for your device. Wi‑Fi SSID and password or Ethernet LAN
- A tool for flashing images. We recommend:
- USBImager (GUI, cross‑platform)
dd(CLI, Linux/macOS).
1. Create a New Device Configuration
- In the Thymis UI sidebar, click Configs.
- Click Create New Configuration at the top right.
- Enter a name for your configuration.
- Select your hardware type (e.g. Raspberry Pi 4).
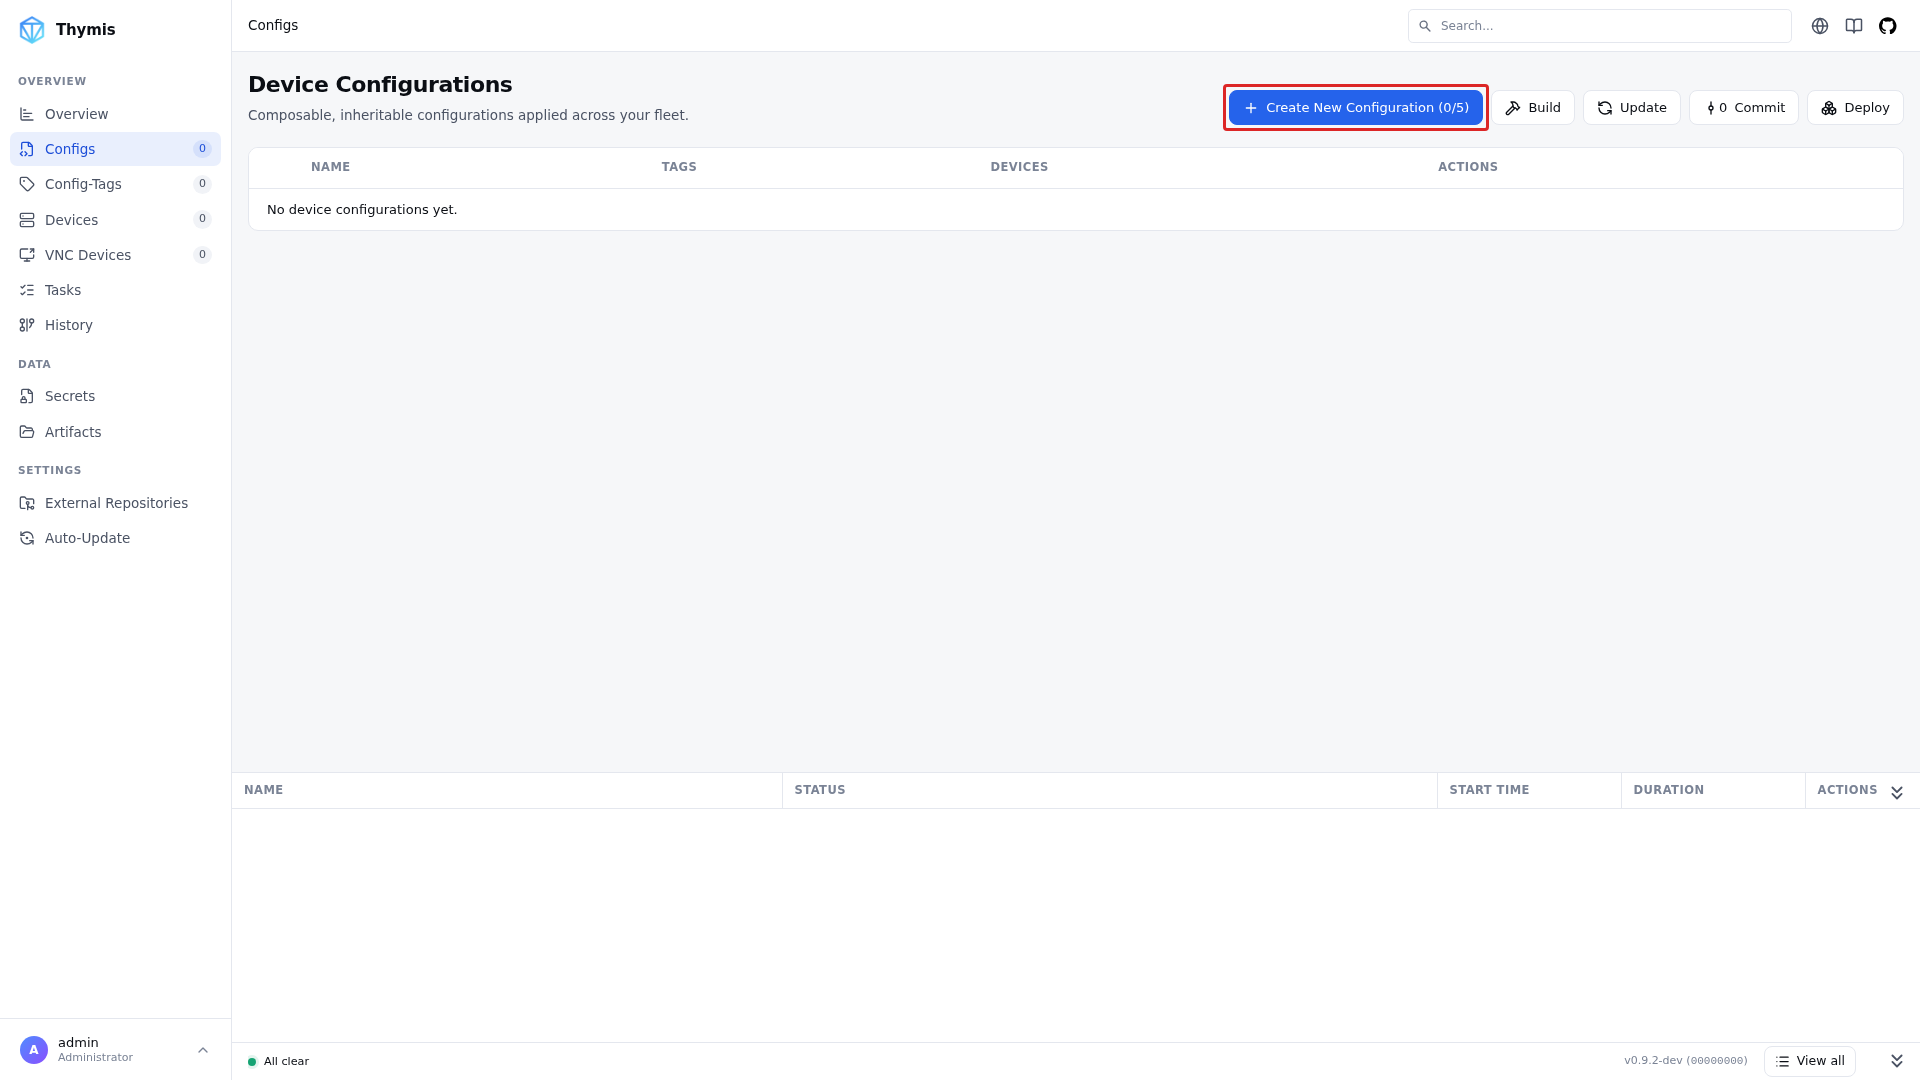
Once created, click Configure to open its settings.
2. Set Networking (Wi‑Fi)
- Add the Networking module
- Enter your SSID and password.
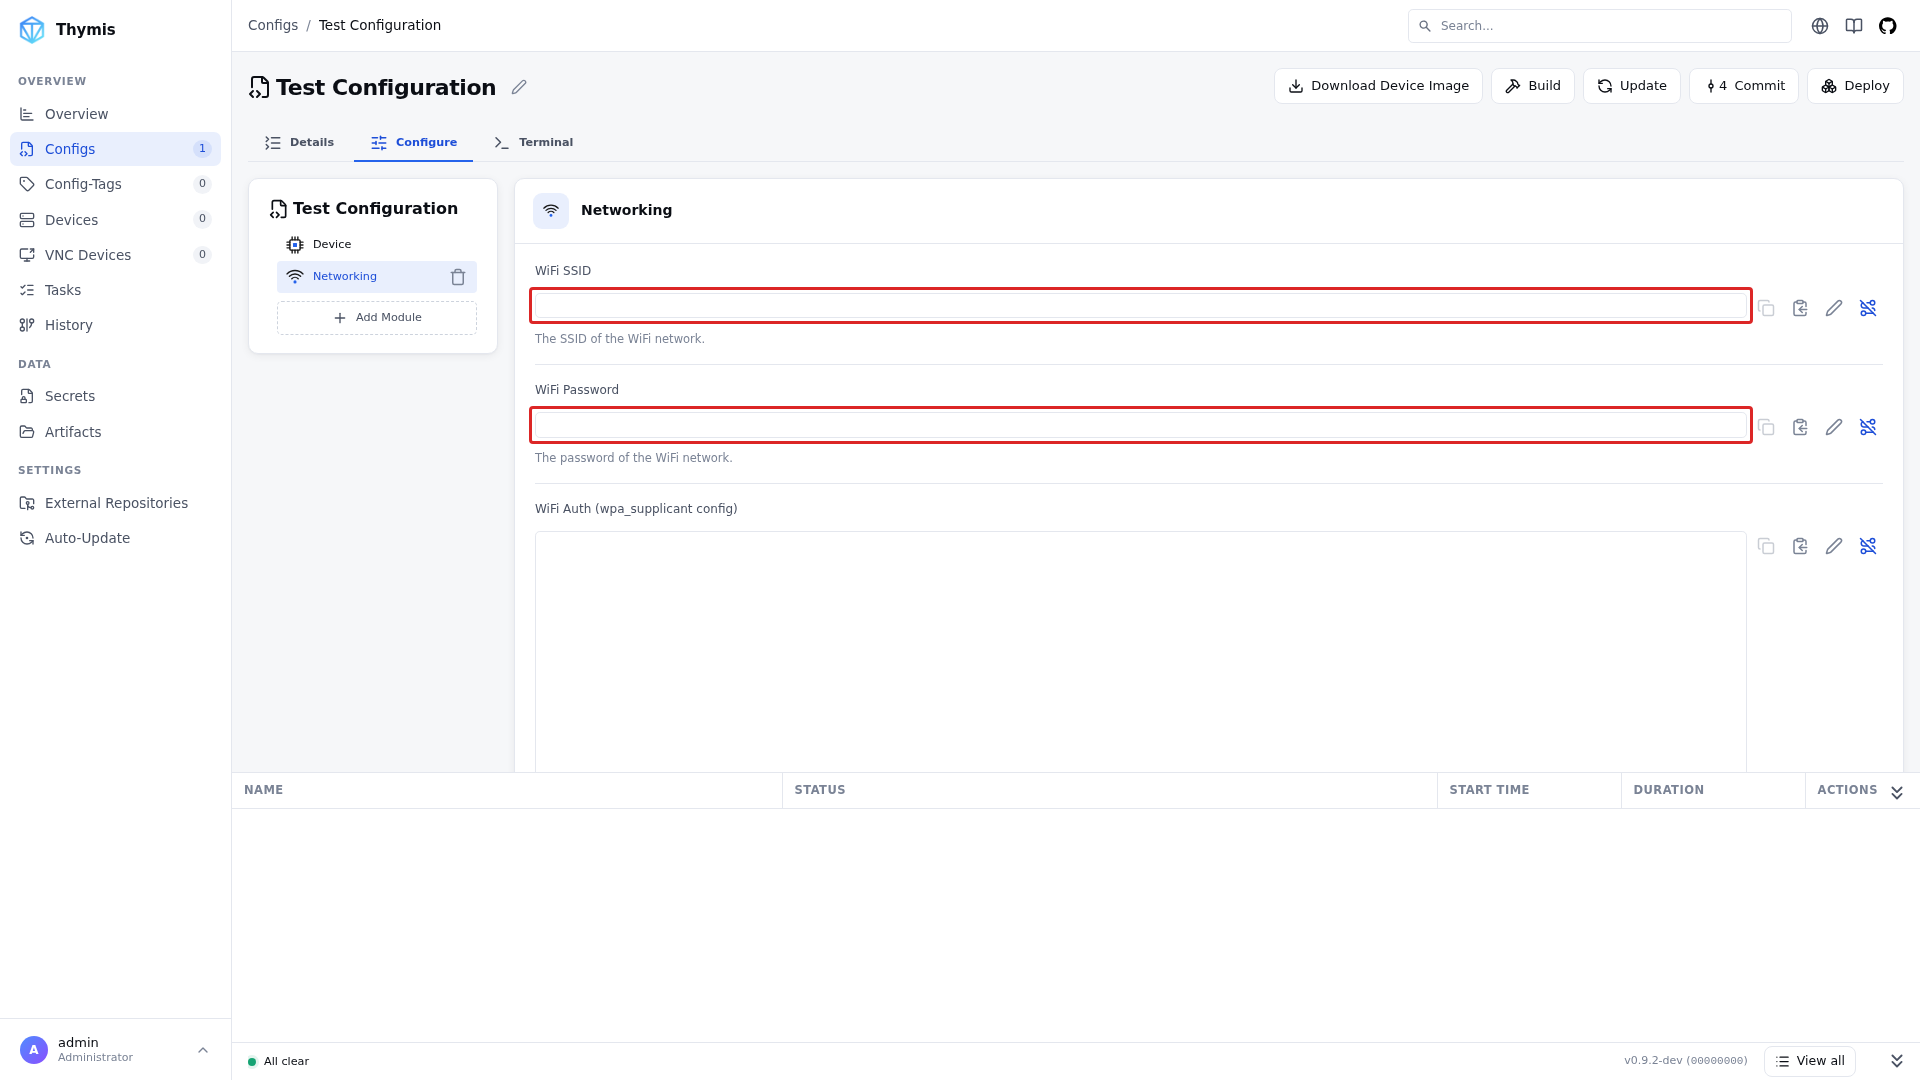
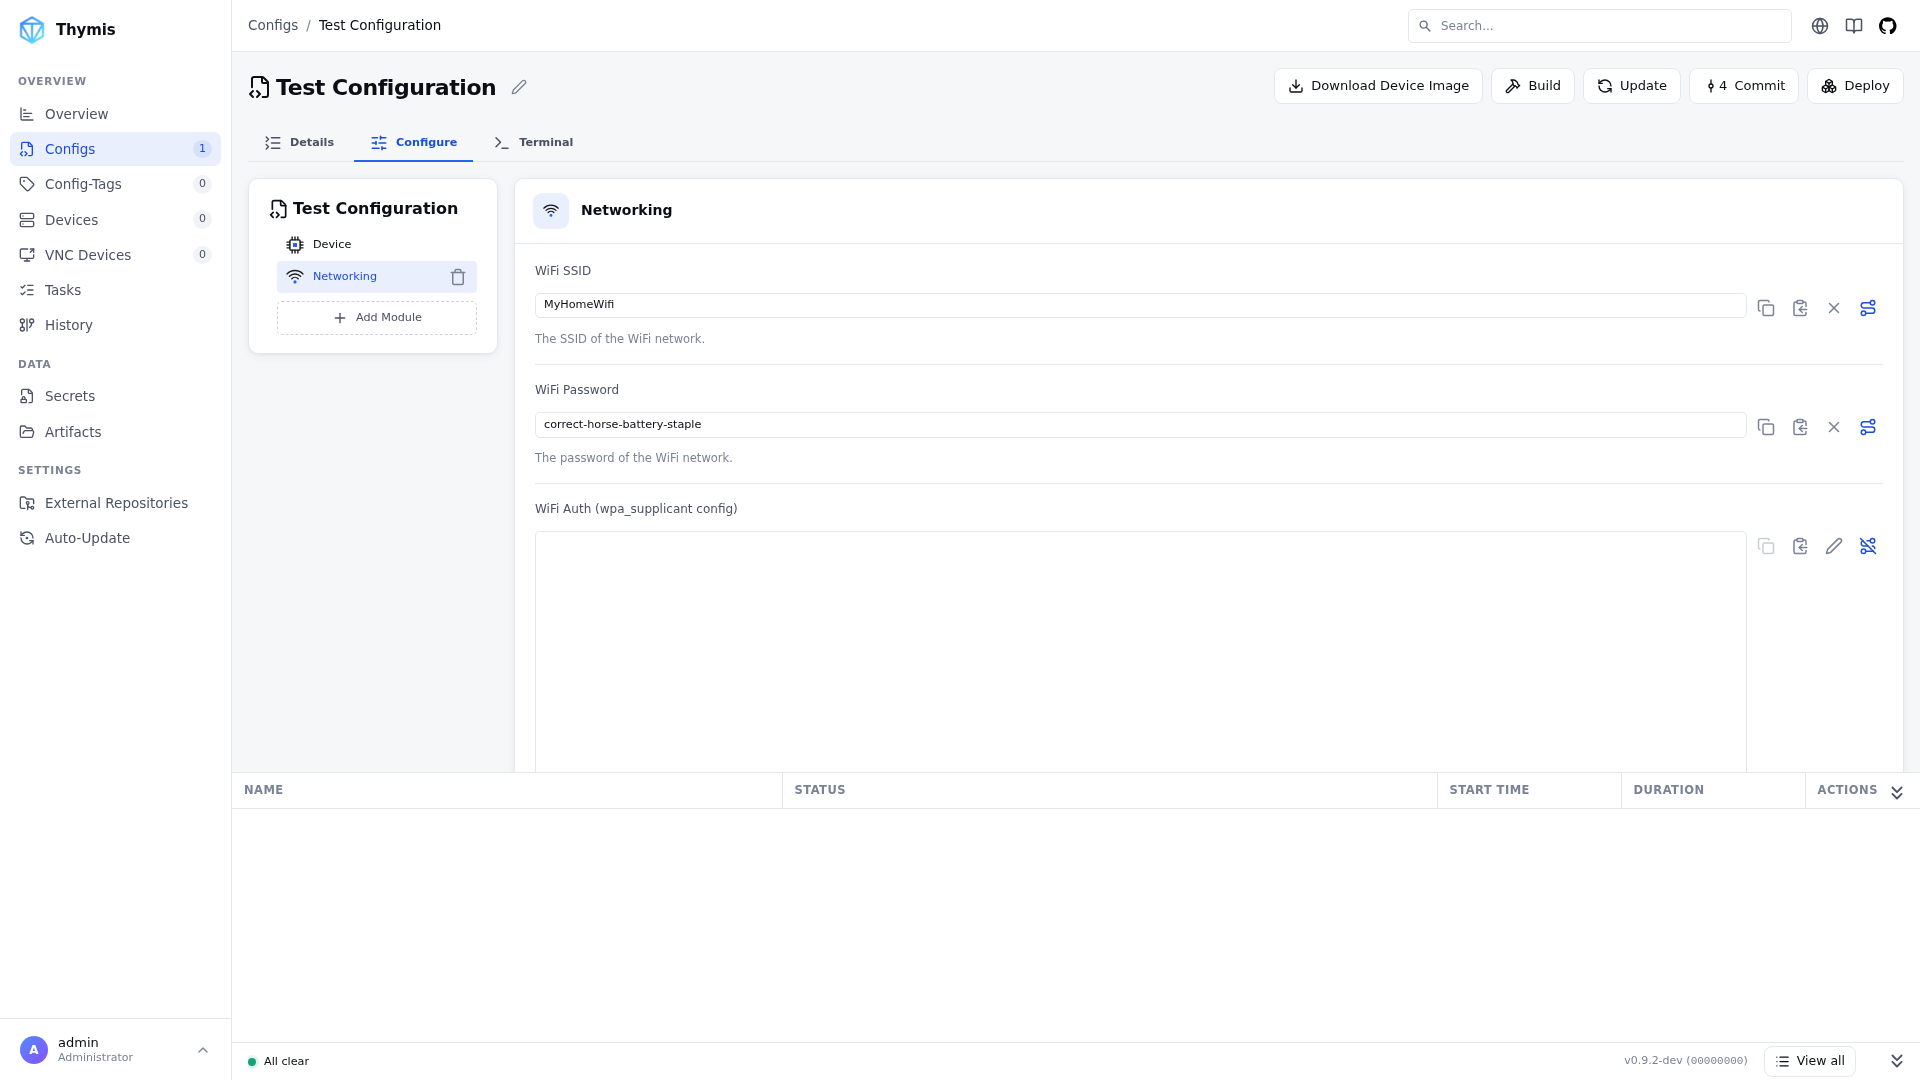
💡 If you’re planning to use Ethernet (LAN), you can skip Wi‑Fi settings for now.
3. Download the System Image
- At the top of the configuration page, click Download Device Image.
- If prompted, Commit your pending changes.
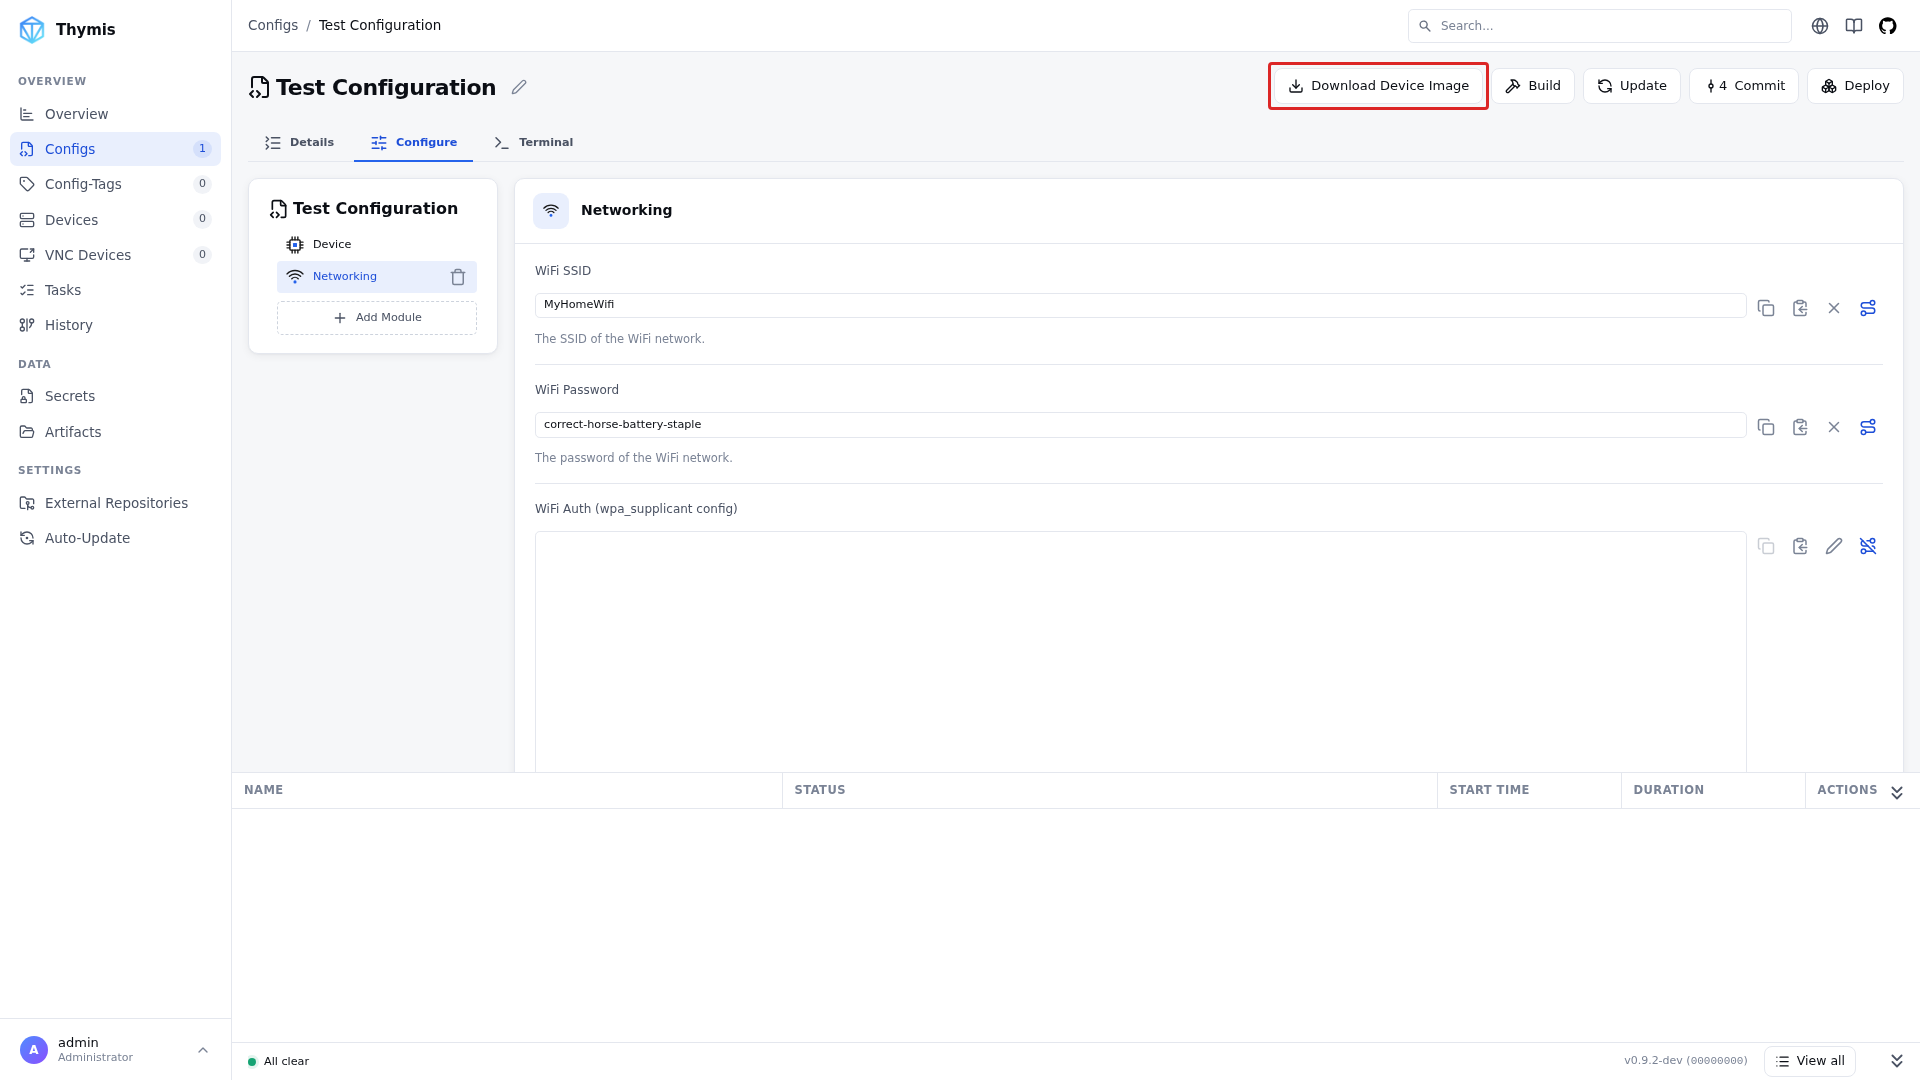
Thymis will start a Build Image for Device task.
- First builds may take several minutes.
- Subsequent builds are faster thanks to caching.
When complete, a download link for the image will appear in the task output.
4. Flash the Image to Your Device’s Storage
Insert your SD card and use:
- **USBImagerSelect the downloaded image file and the SD card, then click Write.
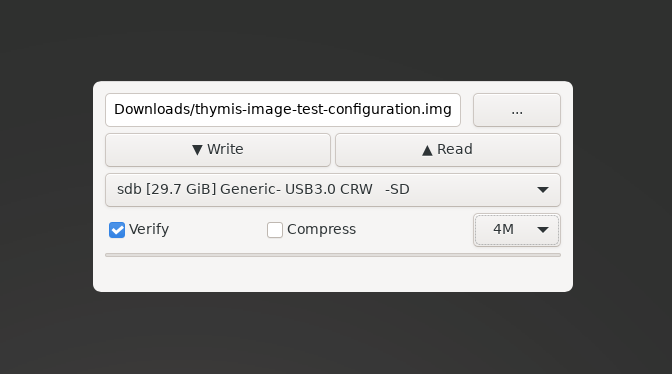
dd(Linux/macOS CLI):sudo dd if=/path/to/device-image.img of=/dev/sdX bs=4M status=progress conv=fsyncReplace
/dev/sdXwith your SD card’s device path — careful, this will erase it.
5. Boot the Device
- Insert the flashed SD card into your Raspberry Pi.
- Connect Ethernet or ensure Wi‑Fi coverage.
- Power on the device.
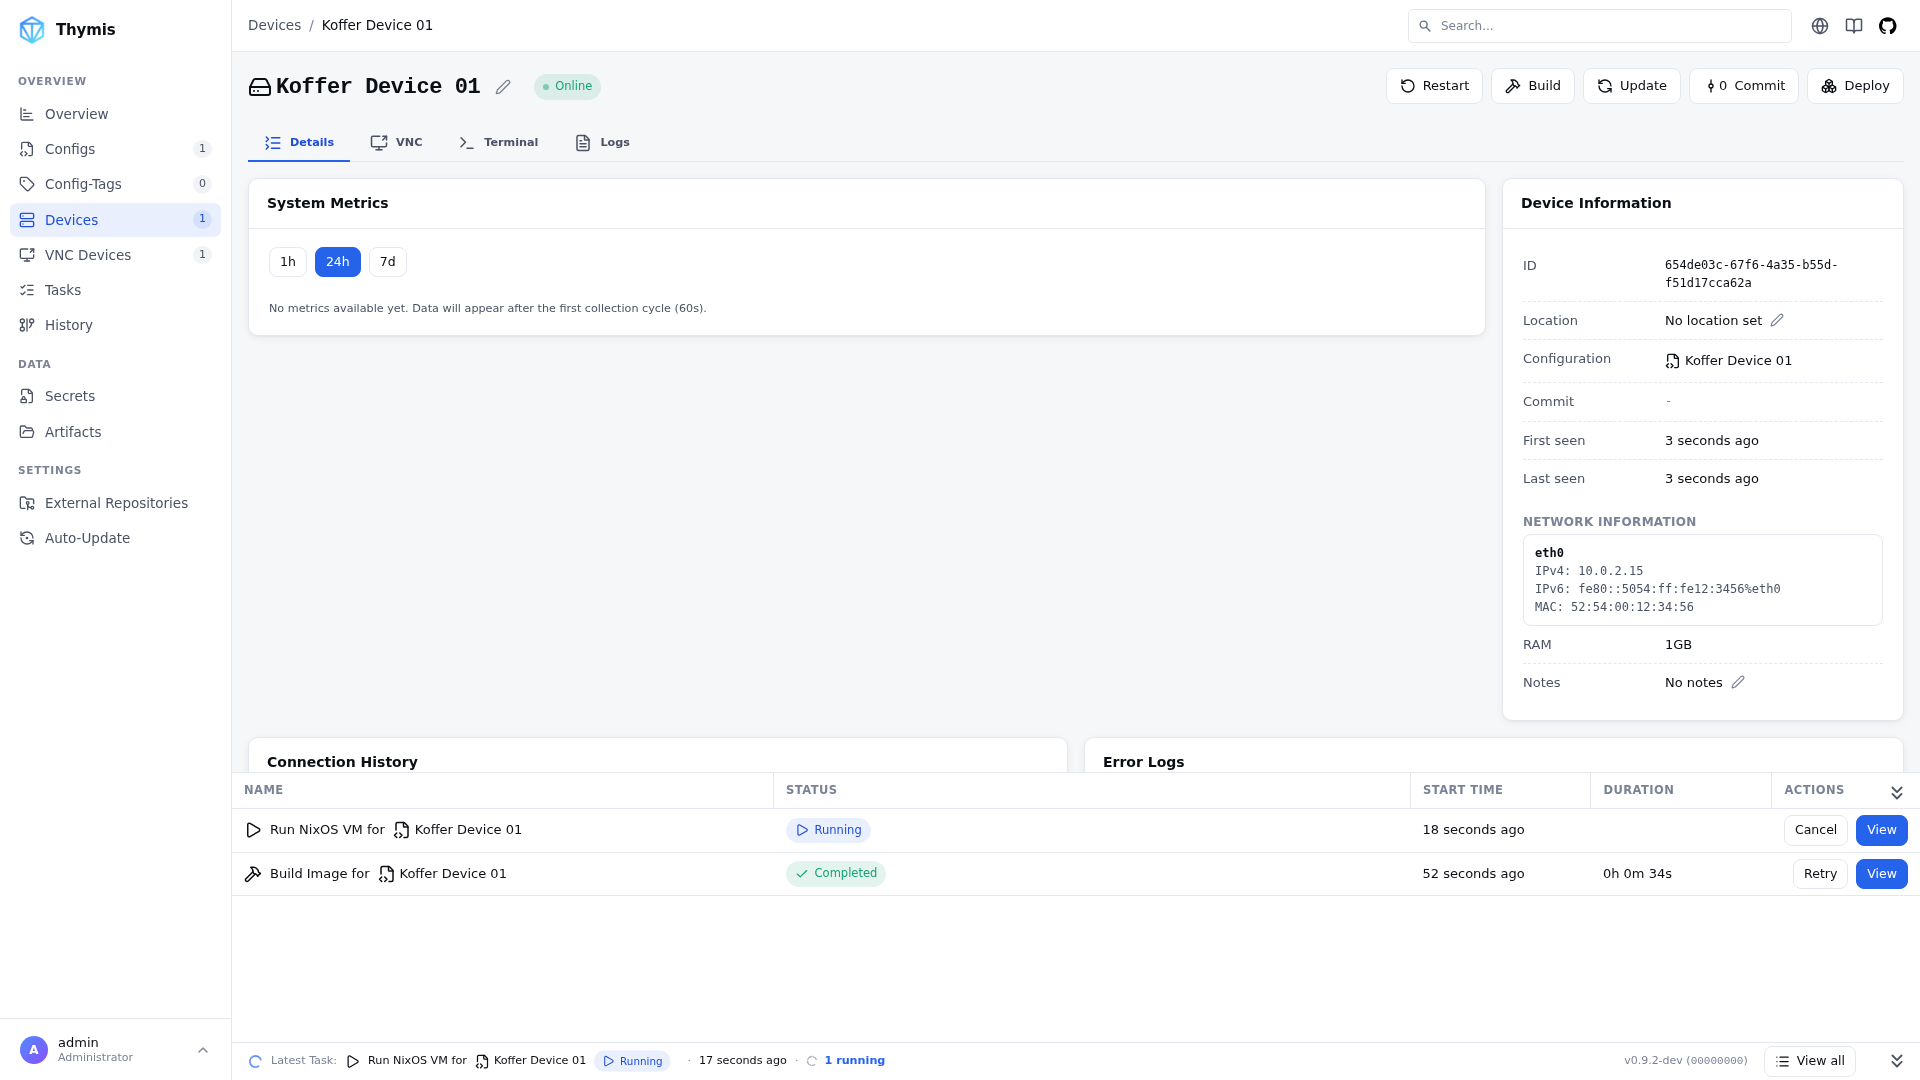
Within a couple of minutes, it should connect to the Thymis Controller and appear in:
- Configs → current configuration
- Devices tab, showing live status
Troubleshooting
If the device does not appear:
- Double‑check SSID/password in the Networking module.
- Try connecting via Ethernet for initial onboarding.
- Connect a keyboard/mouse/monitor to the device and log in as
root(password from the Security & Access module). Use:to review connection logs.journalctl -xe
See Troubleshooting Guide for more help.
Next Steps
Once your device is online, you can: